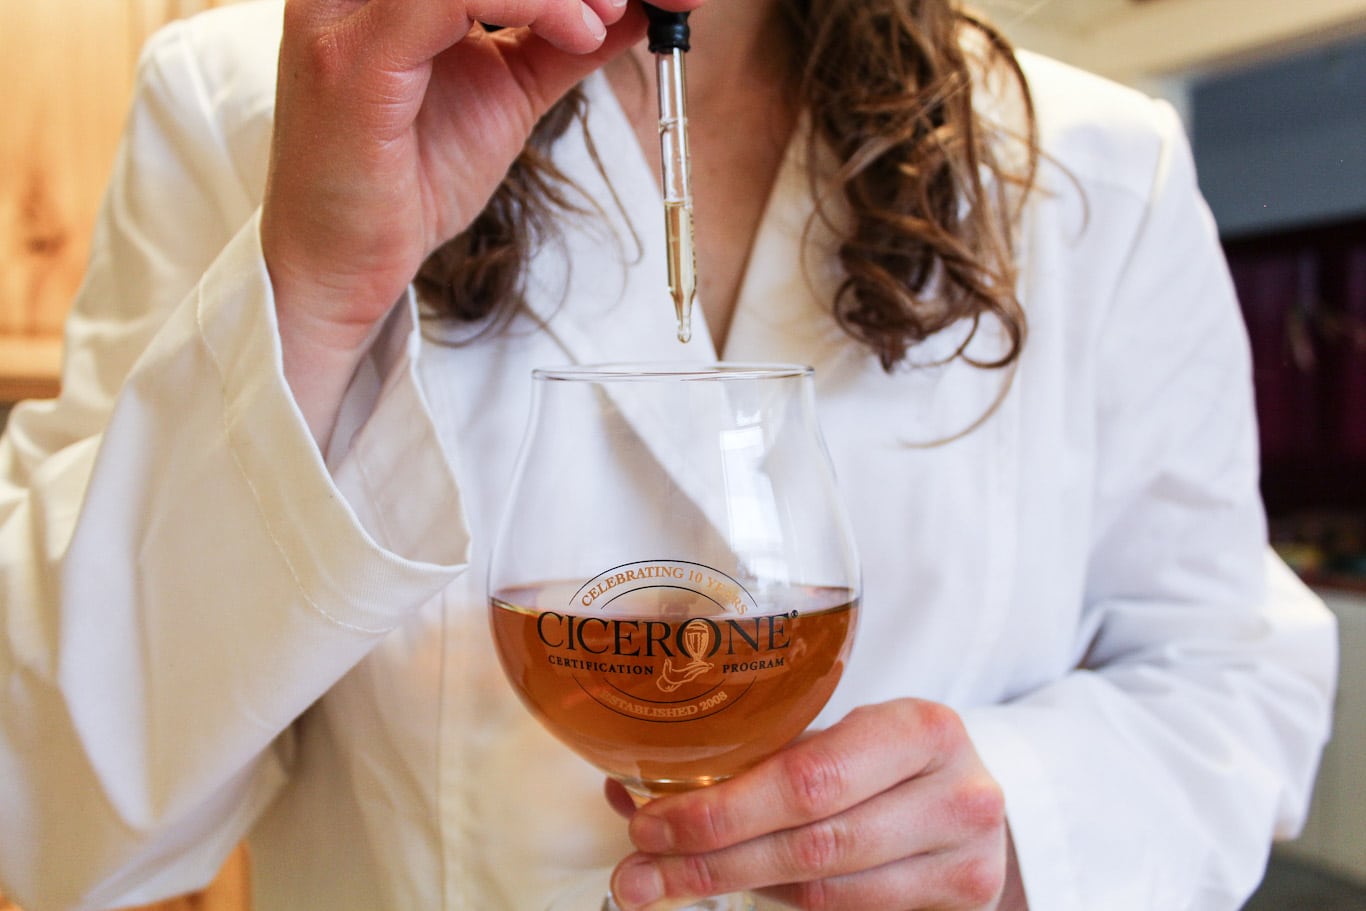
As a preface, I’d like to make it well known the off flavor spikes suggested in this post are in no way a substitute for the professionally produced off flavor spikes used in tasting exams for the Cicerone Certification Program, Beer Judge Certification Program, or other beer related organization. I highly recommend purchasing the recommended off flavor spikes directly from these organizations if you’re planning to sit an exam involving sensory off flavor identification.
Anyone looking to gain a better understanding of what defines “good” or “bad” beer may eventually find themselves on the hunt for a sensory definition of beer off flavors. Books can only teach you so much about flavor. Imagine trying to teach someone how bananas taste when they’ve never had one, and you’ll understand what I mean. There’s no substitute for real life experience.
The Spikes
The following list of off flavor spikes is meant to mirror the spikes one would encounter during the Certified Cicerone® exam. They are diacetyl, DMS, acetaldehyde, lightstruck, trans-2-nonenal, and infection. The recommended kit is produced by AROXA™ in collaboration with the Cicerone Certification Program, and can be purchased from cicerone.org. The cheapest option is a six person kit for $149.00. The DIY materials listed below will cost you $20-$30 including the beer.
I am a Certified Cicerone®, and have tasted through the AROXA™ Basic Off-Flavor Kit about ten times. My recommendations below are intended to match the professional kit as closely as possible. Again, this is not a substitute for the professional kit if you intend to sit an exam.
Diacetyl
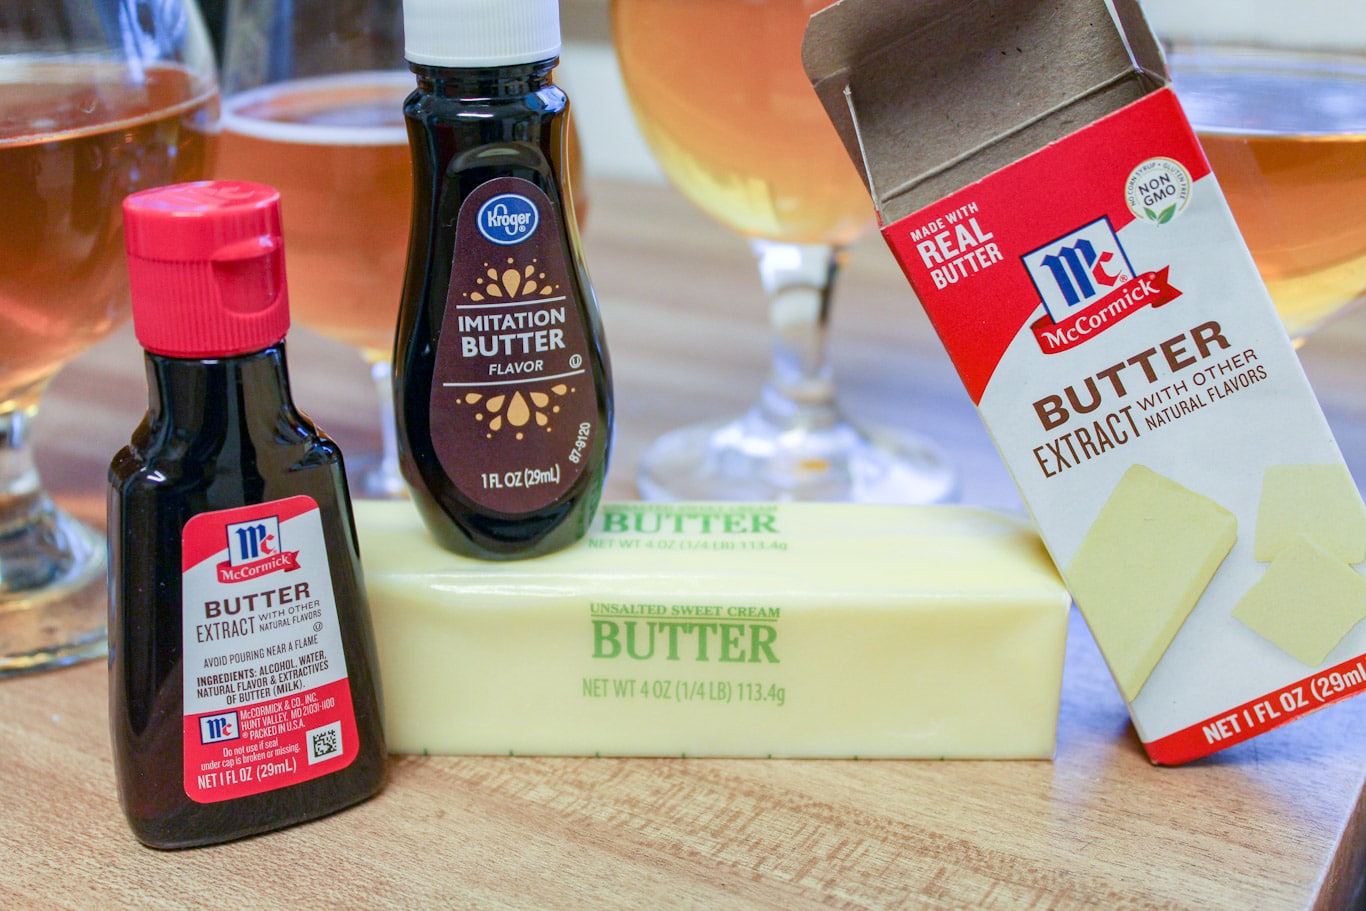
Spike: McCormick® Butter Extract
Cost: ~$5
Dosing: 10 drops per 6 ounces of beer
Diacetyl is a buttery flavor and aroma that is considered an off-flavor in most beer. At higher concentrations, it can be perceived as butterscotch, and even create a slick mouthfeel. It’s what gives movie theater popcorn that classic butter flavor without actually using butter.
In addition to McCormick® Butter Extract, I also tried Kroger Imitation Butter Flavor. The Kroger version certainly smelled like butter, but something in the flavoring caused a lot of the carbonation in the beer to come out of solution as the drops were added. The aroma had a perfumy character to it I found was unlike the diacetyl you’d find naturally in beer, so I would not recommend using it for spiking.
The McCormick® Butter Extract worked well as a substitute for a professional diacetyl spike. The slick mouthfeel it provided was right on. The major difference between this and a professional spike is the sugary impression the McCormick® Butter Extract gives. I find it to be a bit closer to buttercream icing than a nearly savory butter flavor. The sweeter impression from the McCormick® Butter Extract is not associated with diacetyl in a professional spike kit.
DMS (Dimethyl Sulfide)
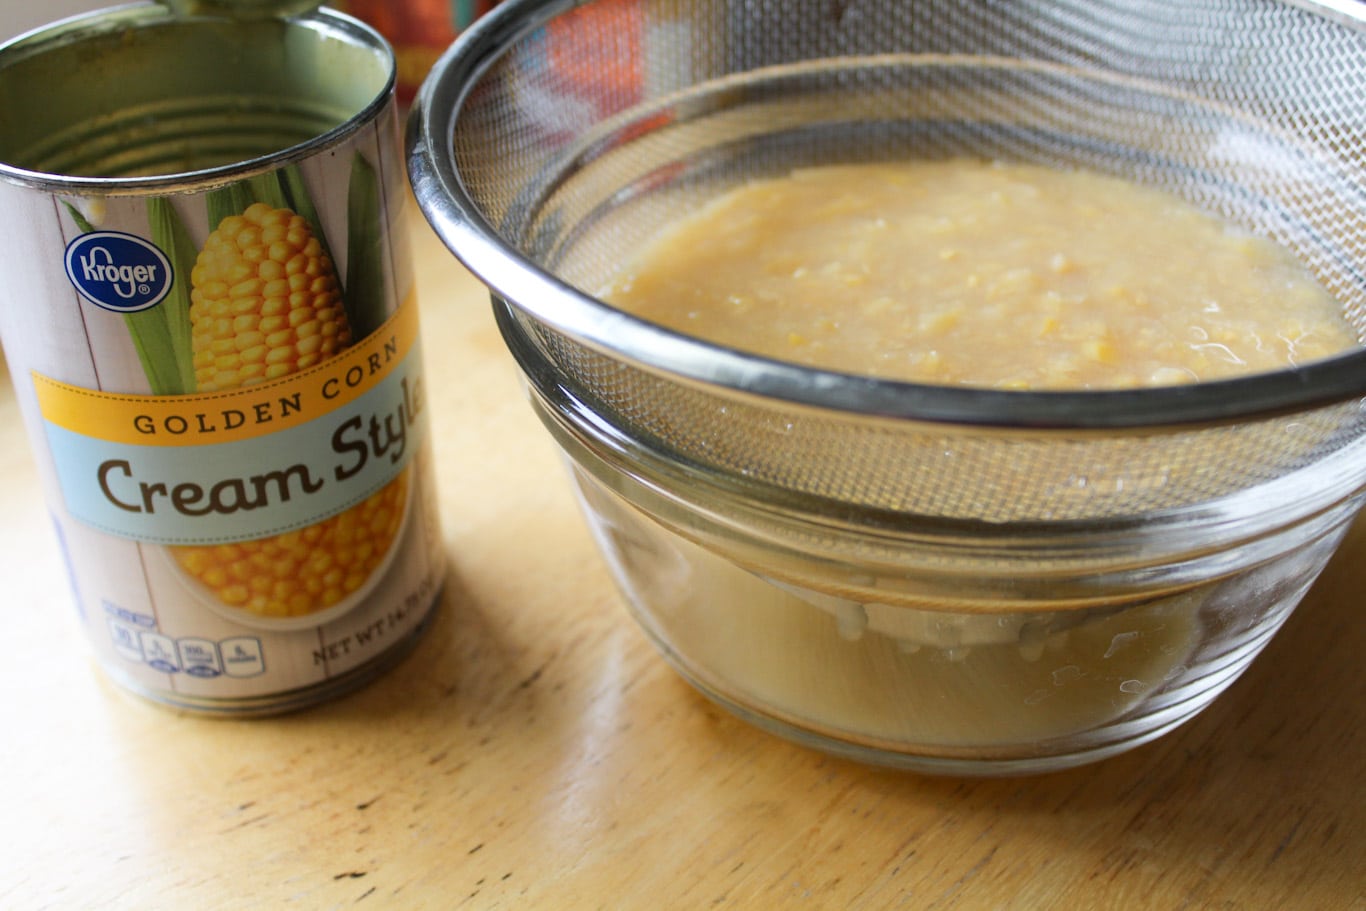
Spike: Canned Creamed Corn
Cost: ~$1
Dosing: 2 teaspoons strained liquid per 6 ounces of beer
DMS can give beer an aroma and flavor of stewed tomatoes, cooked cabbage, or creamed corn. It’s a naturally occurring compound in malt, and is driven off by heat. DMS normally evaporates during the boil, but can remain if the boil is not vigorous enough.
This is the least aesthetically pleasing, but perhaps the most spot on aroma-wise for homemade spikes. Strain a can of creamed corn into a bowl. It’s going to take a while, so dump it in and let it dribble through. Depending on how not super ugly-chunky you want your spiked beer to look, you may want to strain the liquid multiple times. I only did it once.
Two teaspoons of single strained corn liquid mixed thoroughly with six ounces of beer produced a dead ringer for DMS aroma. It was just as repulsive as any spike I’ve experienced from AROXA or Siebel. The flavor (we won’t even talk about how gross the texture was) seemed to exhibit moderate corn sweetness, which you wouldn’t find in a professional spike. Otherwise, I’d consider this method a great way of studying DMS.
Acetaldehyde
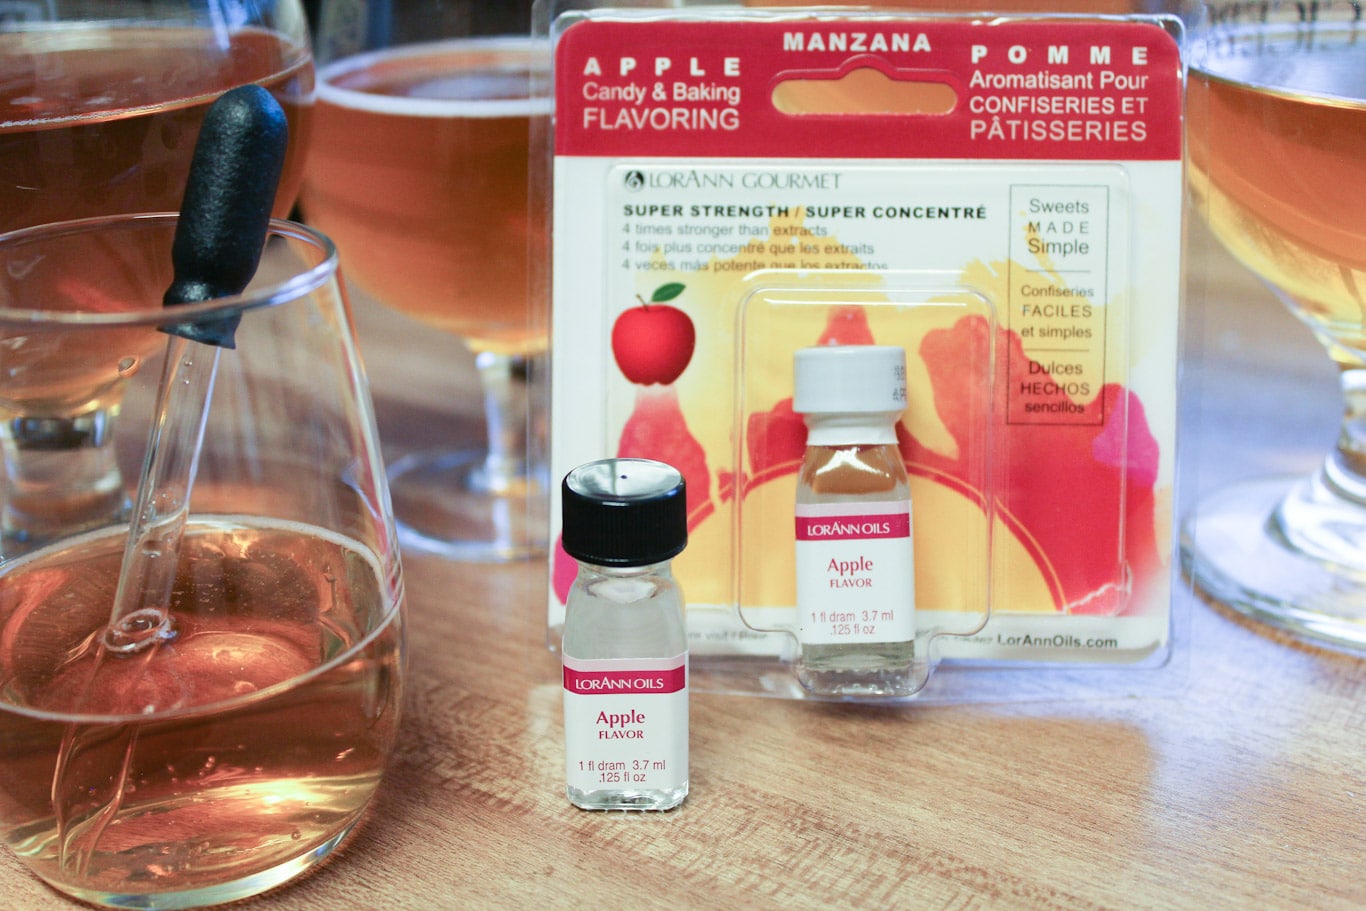
Spike: LorAnn Gourmet Apple Flavoring
Cost: ~$4
Dosing: 4 drops per 6 ounces of beer
Acetaldehyde is an appley aroma and flavor produced during fermentation, and cleaned up by the yeast after the most vigorous part of fermentation is complete. If you separate the yeast from the beer before fermentation is complete, you’ll end up with young beer that smells like Granny Smith apples.
The apple character exhibited from the LorAnn Gourmet Apple Flavoring was not quite what I had hoped for. It comes off as more candy-like, pushing sweet/juicy red apple instead of the unmistakably tart/crisp green apple. It’s appley for sure, but not close enough to consider this anywhere close to a decent substitute for a professional acetaldehyde spike. It’s worth trying with the other spikes listed here, but I’ll keep looking for something closer to the real thing.
Lightstruck (Skunked)
Spike: Sunlight and Time
Cost: Free
Dosing: A Few Minutes In Bright Sunlight
When light strikes beer, the UV rays can interact with hop compounds to create mercaptan, the same chemical that skunks spray. This process can occur within seconds, especially if the beer container is clear (no protection from UV light).
This is an easy one to test out on the patio during Sunday brunch. While you’re basking in the morning sun, your beer is picking up that skunk stank. Reserve a bit of beer #1 so you can compare it to the non-light struck beer #2. You’ll be surprised!
This trial is unfortunately weather dependent. You probably won’t be enjoying the patio in January, so keep this in mind if you plan to use this skunking method. I’ve read fluorescent and LED light are also apt to skunk beer, but I’ve yet to test it.
This is one of the few spikes you can easily replicate by spending nothing more than time. The result is often identical to what you’d perceive from a professional kit, so use the method above in conjunction with professional spikes to get extra sensory study in.
Trans-2-Nonenal (Oxidized)
Spike: Open Air and Time
Cost: Free
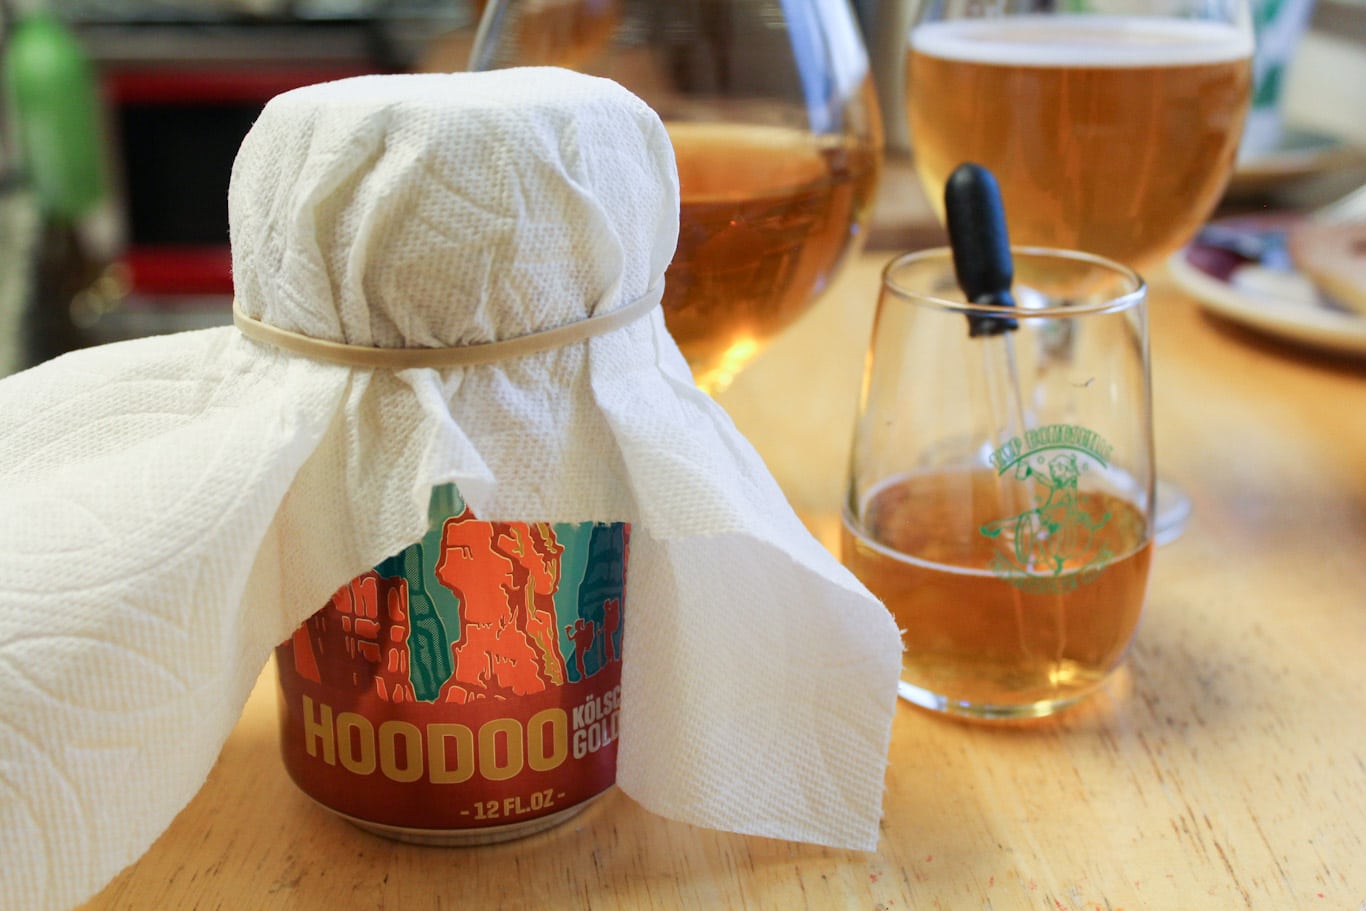
Dosing: Open can covered with a paper towel for 24 hrs at room temperature
Oxidation occurs when oxygen and other compounds interact with beer, and is usually a sign that the beer is old or stale. Paper, wet cardboard, lipstick, and waxy are all characteristics used to describe oxidized beer.
I tried a few methods in order to find the best way to oxidize beer while preserving the rest of its integrity. I found an open can left on the counter for 24 hours with a paper towel rubber banded to it produced the best results. Though warm, it maintained a moderate level of carbonation. I might try to refrigerate the can next time post-24-hours on the counter to make the sample closer to the other spiked samples.
The level of oxidation was rather potent, and another relatively free and accurate method of studying an off flavor.
Infection
Spike: Vinegar (Distilled or White)
Cost: ~$3
Dosing: 1 teaspoon distilled vinegar and 8 drops McCormick® Butter Extract per 6 ounces of beer
Infection is a combination of off flavors caused by bacteria and/or wild yeast. The most common culprit is dirty draught lines. Infected draught beer will often smell and taste like butter (diacetyl) and vinegar (Acetobacter).
If you’re using white vinegar instead of distilled vinegar, keep in mind it may have a much more concentrated solution of acetic acid than distilled. You might have to dial this one in yourself in order to produce a balanced representation of beer infection.
The Beer
Choose something light in flavor and color that does not have any off flavors or strong flavors before spiking. I used Uinta Brewing HooDoo Kölsch for my kit application, which has a very subdued fermentation profile and subtle hop aroma. Light American lagers also work great for off flavor kits.
Extras
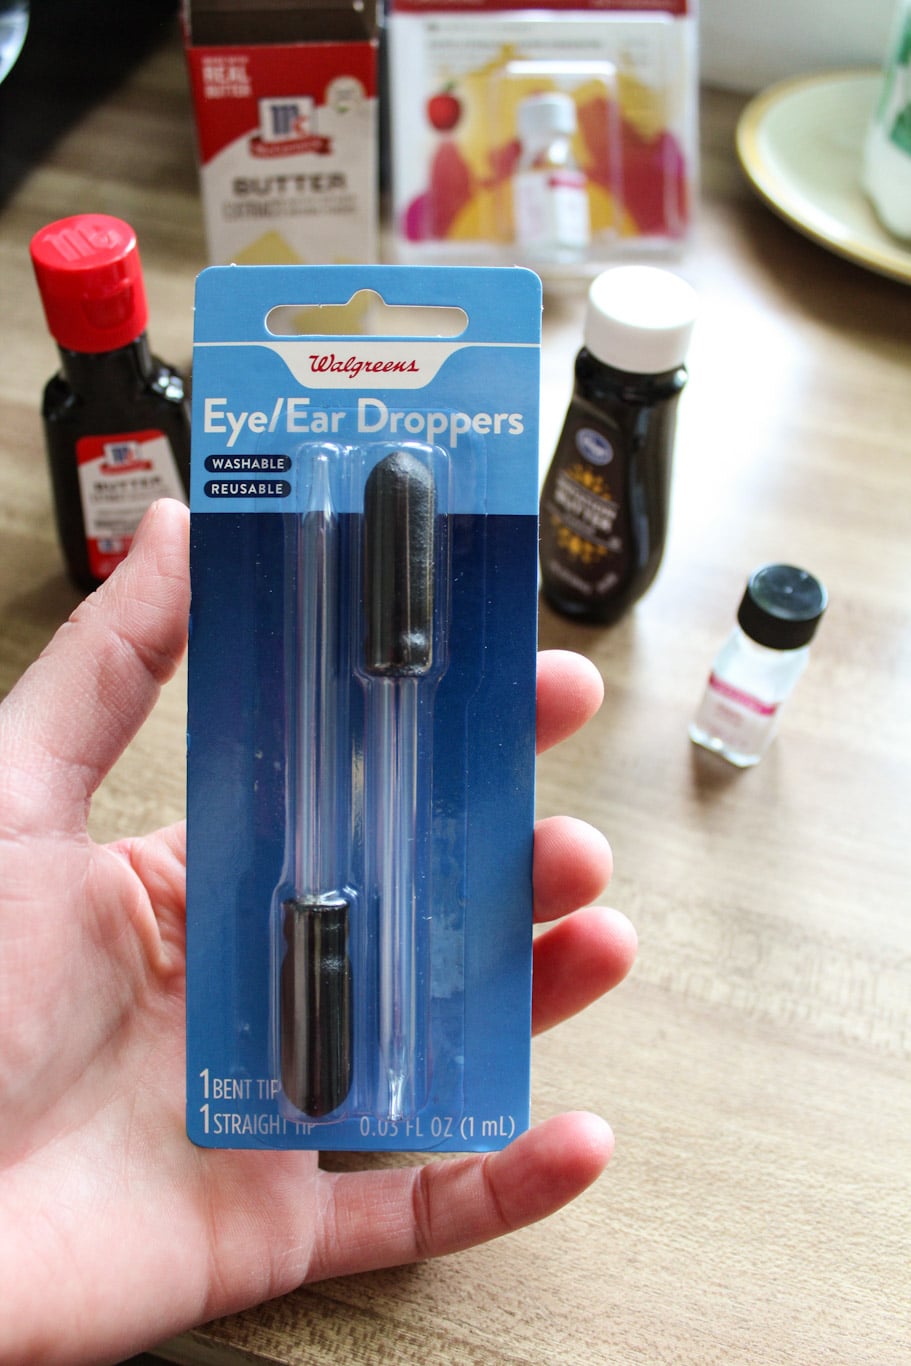 I purchased an eye dropper from the pharmacy for dosing the more concentrated flavorings. There’s really no better way to dose the beer in such small quantities, so I’d recommend coughing up a few dollars to get a pair.
A measuring cup also comes in handy for dosing amounts smaller than a full can/bottle.It’s important to know approximate volumes and dosage rates if you plan to repeat your spikes.
Alright! You’ve got your beer, your spikes, and your dosing information. Taste and smell through each spiked sample with an unspiked sample (known as the control) for comparison, and note the differences between each. This will strengthen your understanding of how each off flavor might present itself in beer without the high price tag of purchasing a professional kit.
Overall, this collection of DIY spikes is far from perfect, and even farther from being a substitute for the real thing. I consider DIY spikes a great way for those new to homebrewing and beer study in general to get their toes wet in sensory education. Take these with a grain of salt (not literally, of course), and perhaps whip up a couple DIY spikes to taste against a professional kit when you’re able to taste through one.
Stay tuned for a blog post on how to present and taste through your DIY off flavor test kit!
More on off flavors…