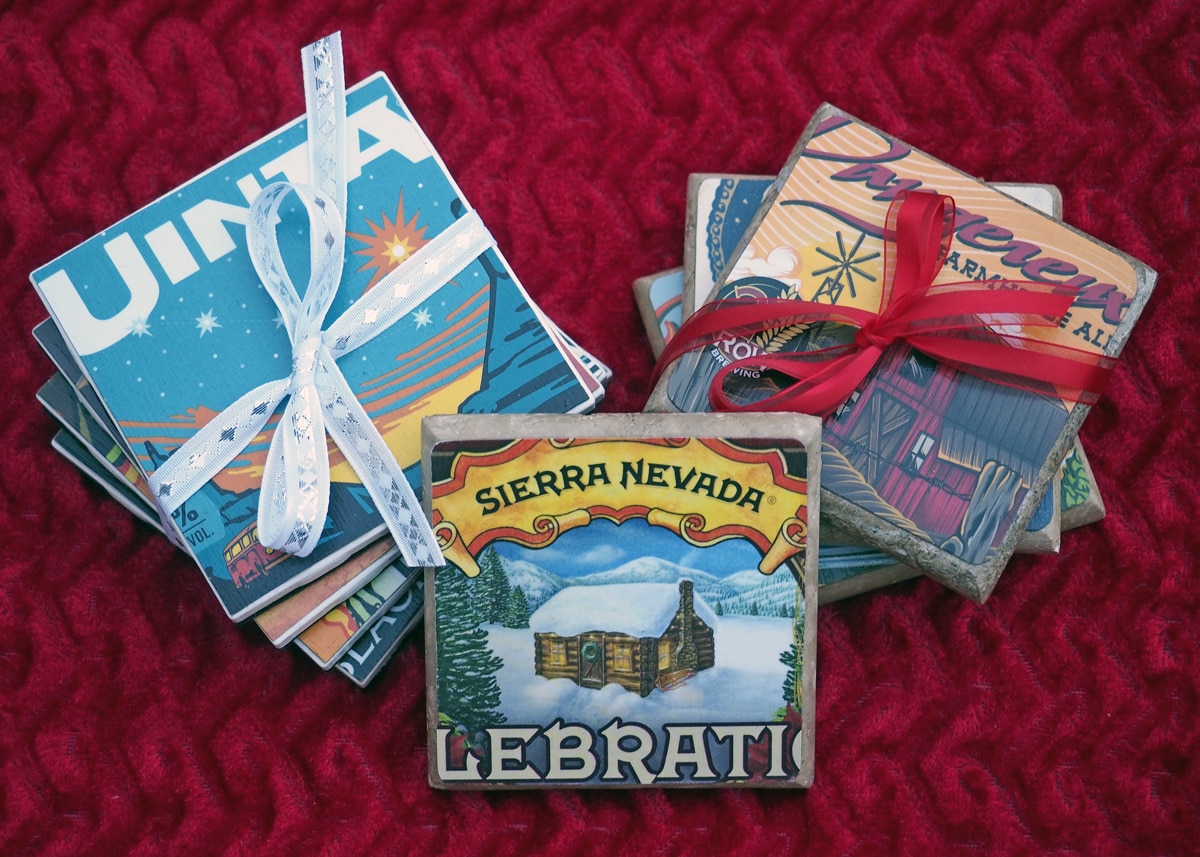
Christmas is fast approaching, and there’s a good chance you have a beer lover or two on your gift list. You may also have a stash of 6-pack holders from some of your favorite beer brands. Here’s a fun way to reuse and upcycle them while exercising your crafting skills. Let’s make “DIY” (Do It Yourself) beer-themed coasters!
What You’ll Need
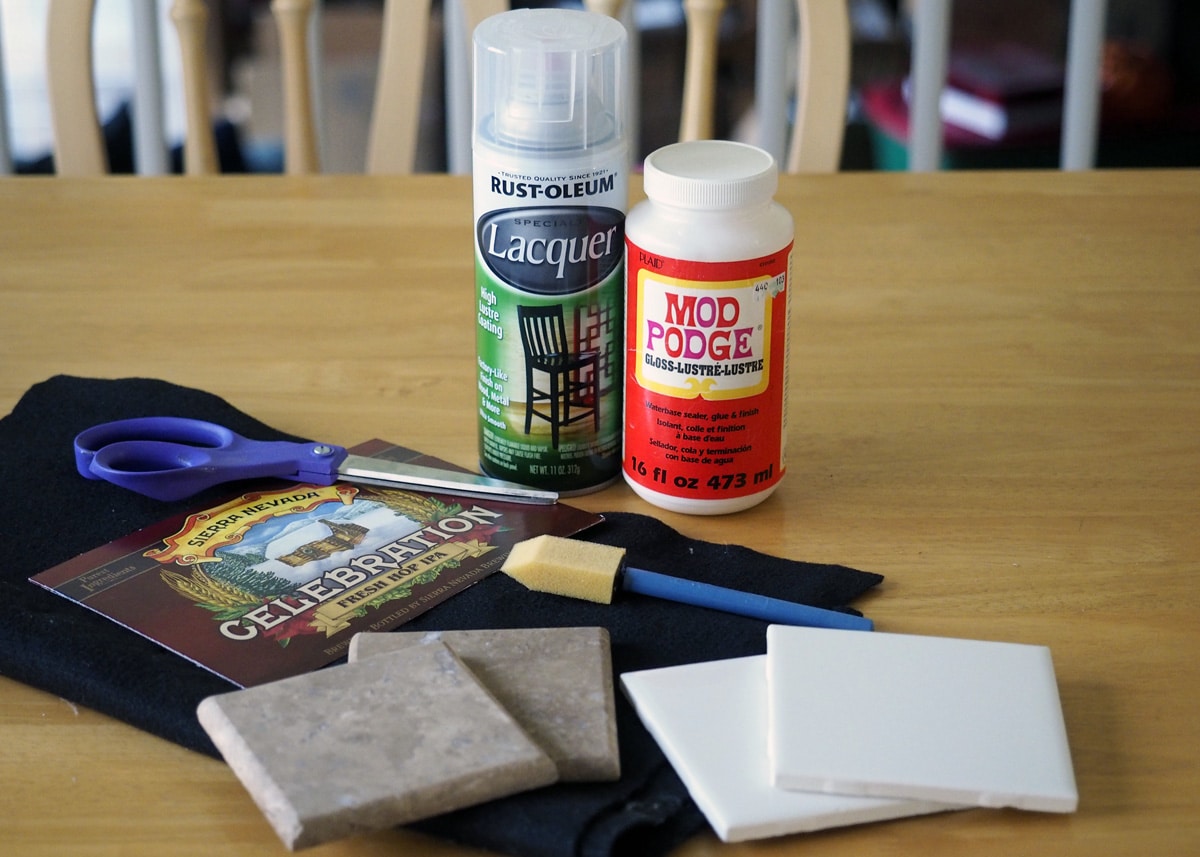
Empty cardboard 6-pack holders
4×4” tiles
Mod Podge
Spray-on lacquer (clear)
Felt or cork
Hot glue or strong craft glue (if using cork)
You’ll find tiles and lacquer at a hardware store. The basic white 4×4” tiles (used for shower walls) are 16¢ at Lowes or Home Depot. For nicer-looking tile, shop at local specialty shops (There are quite a few along 300 West between 2100 and 3300 South in Salt Lake City). Look for Mod Podge (a decoupage medium – all-in-one glue, sealer, and finish) and felt or cork at your neighborhood craft store. Also gather a pair of scissors, pencil, small foam brush, paper towels, newspaper, and a few heavy books.
Directions
- Cut the sides of the 6-pack holders along the folded edges and carefully remove the separators from the back.
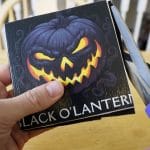
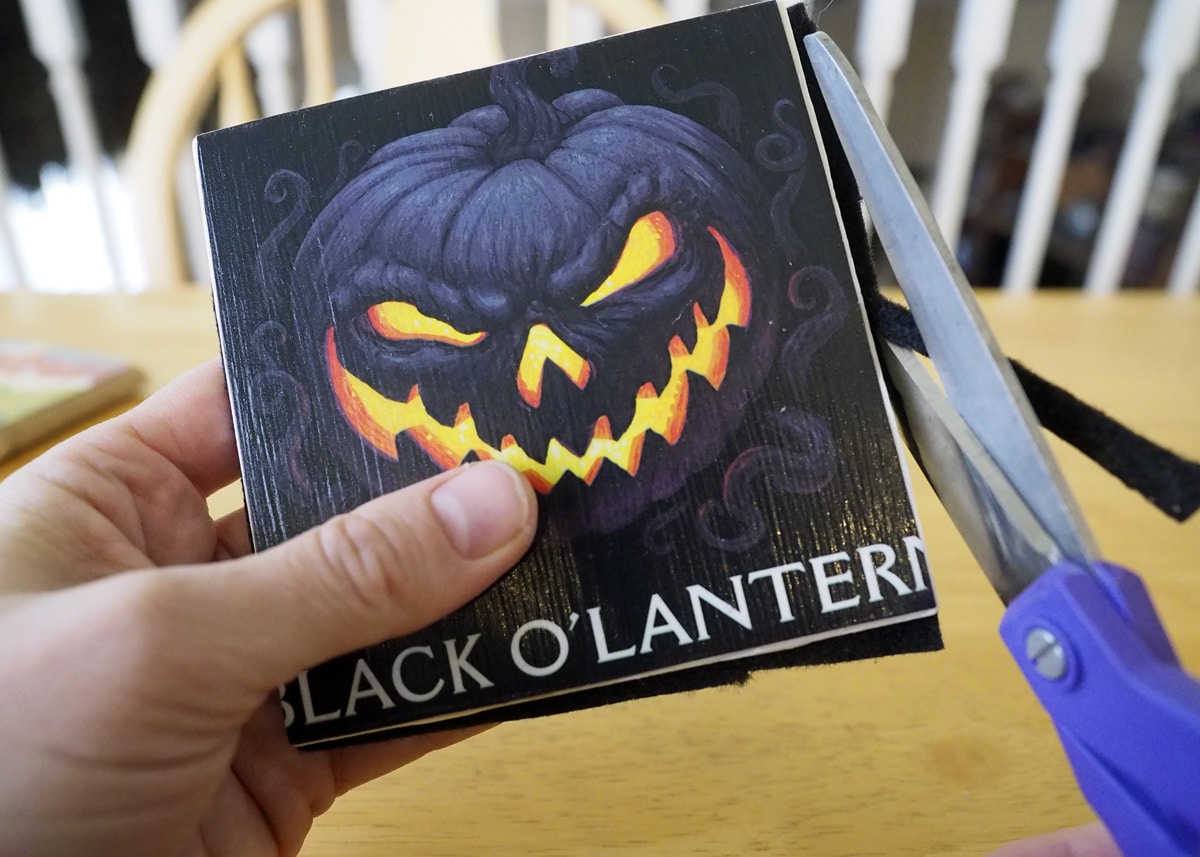
- Using a pencil, trace the outline of your tile around the part of the image you want to see on your coaster. Composition is one of the more challenging aspects of this project as the space on the tile is limited. Capturing the essence of the beer brand is what’s important. Use your artistic eye to determine where to crop it.
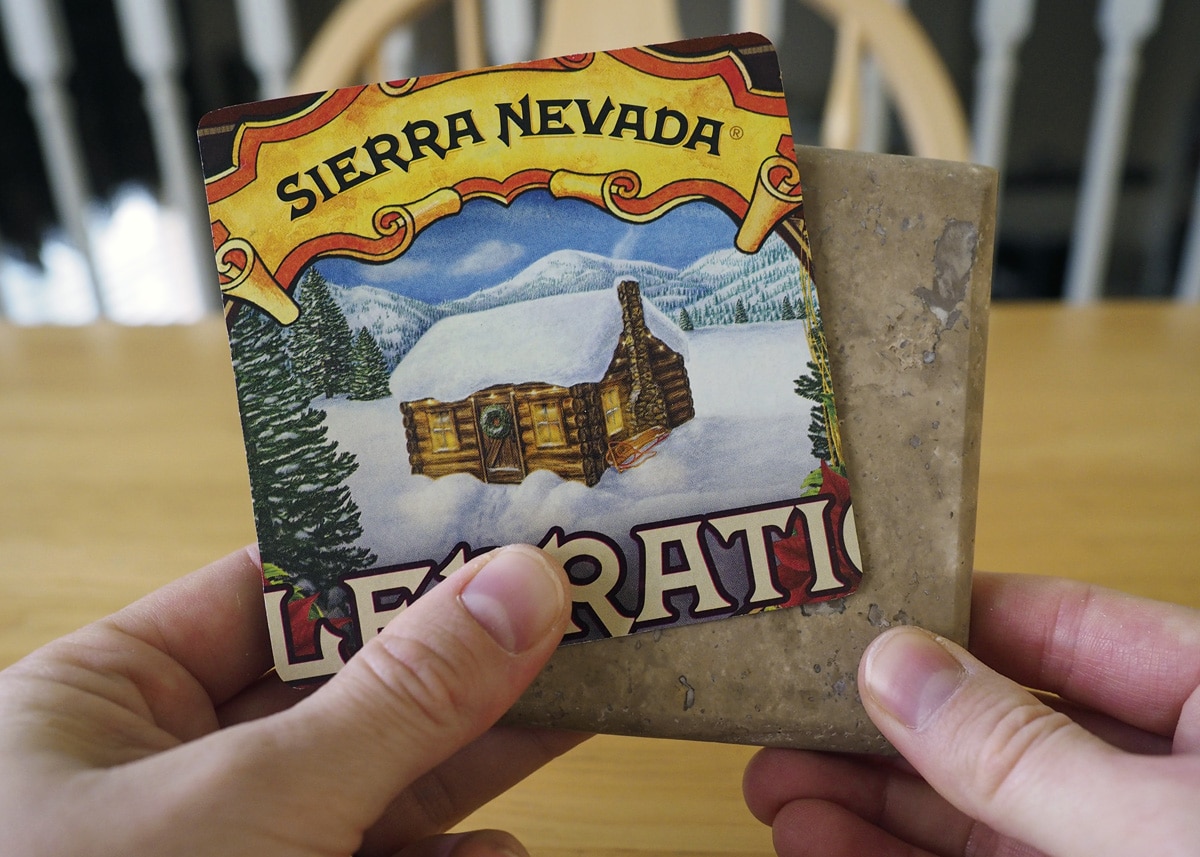
- Cut out the image just inside your pencil line. You will likely have to trim a little bit to make it fit the tile perfectly. Make sure all of the edges will have contact with the surface of the tile. When the cardboard piece is just the right size, use it to trace the others. You’ll find you have to do much less trimming.
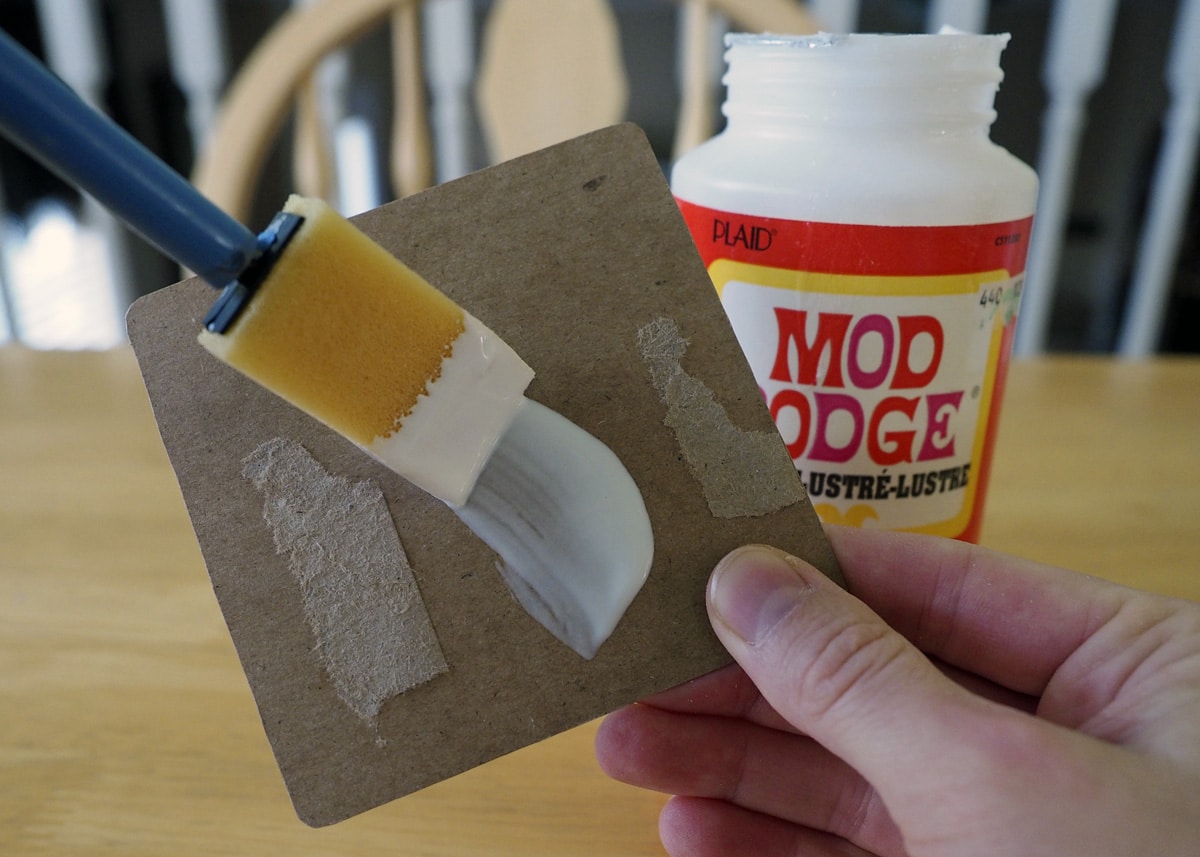
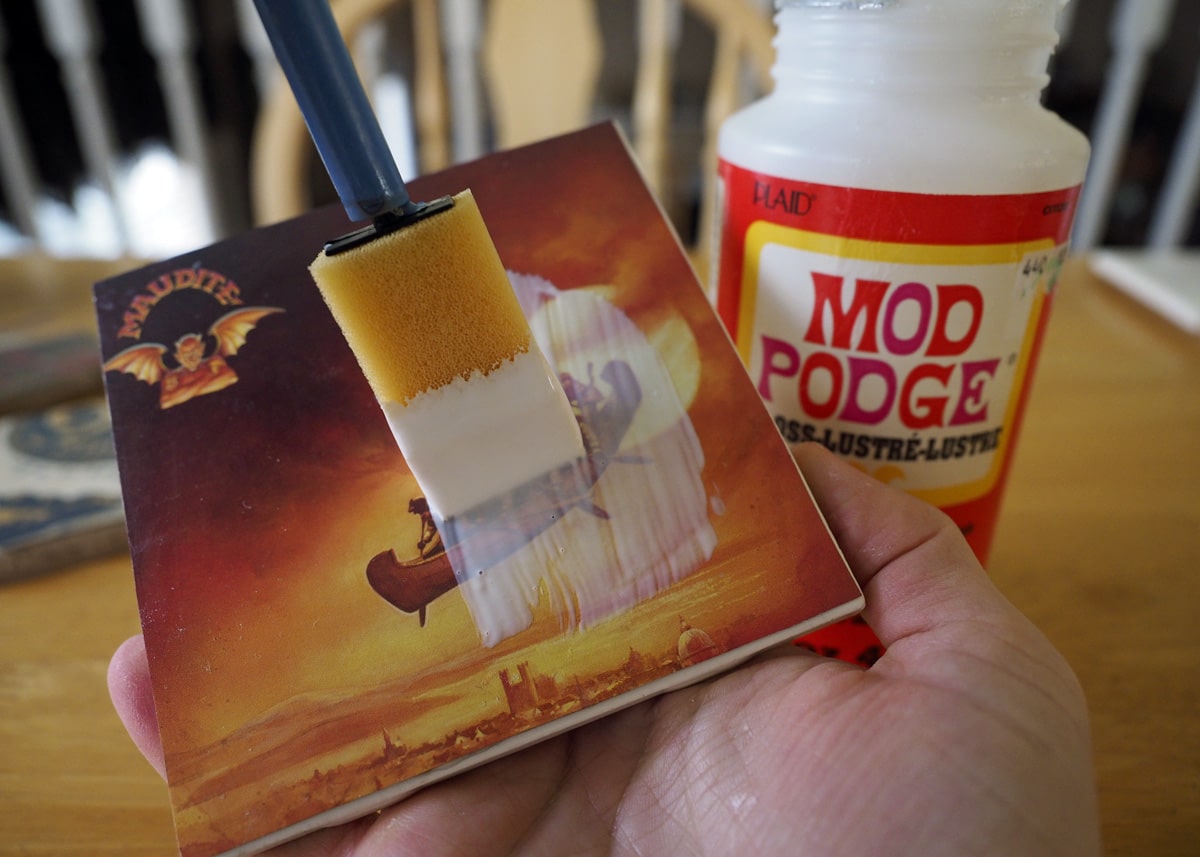
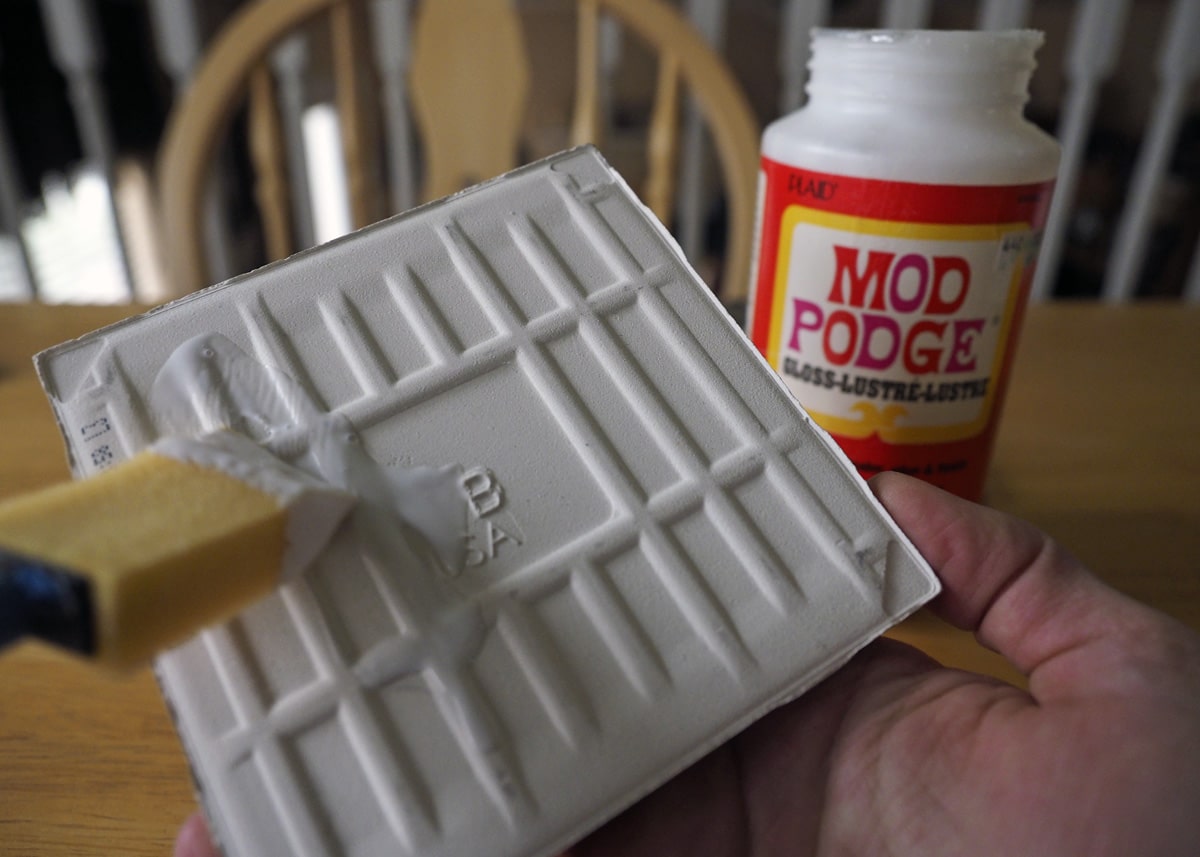
- Using a foam brush, apply a layer of Mod Podge to the back of the cardboard. Take care to cover it entirely, but don’t use too much or it could warp and ooze out the sides when applied to the tile.
- Place it glue-side-down on the front of the tile. Once Mod Podge is applied, the cardboard will tend to curl up so you’ll need to hold the corners and edges down for about 30 seconds as it starts to dry. Use a paper towel to wipe any excess glue from the front or sides of the square. Put a heavy book on top of the tile to keep the cardboard flat as it finishes drying (at least 15 minutes).
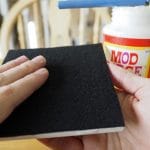
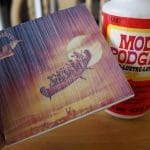 Apply 2-4 layers of Mod Podge over the cardboard image (including the edges), allowing it to dry completely between layers. Use a light touch to smooth out the layer and be sure to wipe away any drips or excess glue. Work quickly and stop before the layer begins to dry.
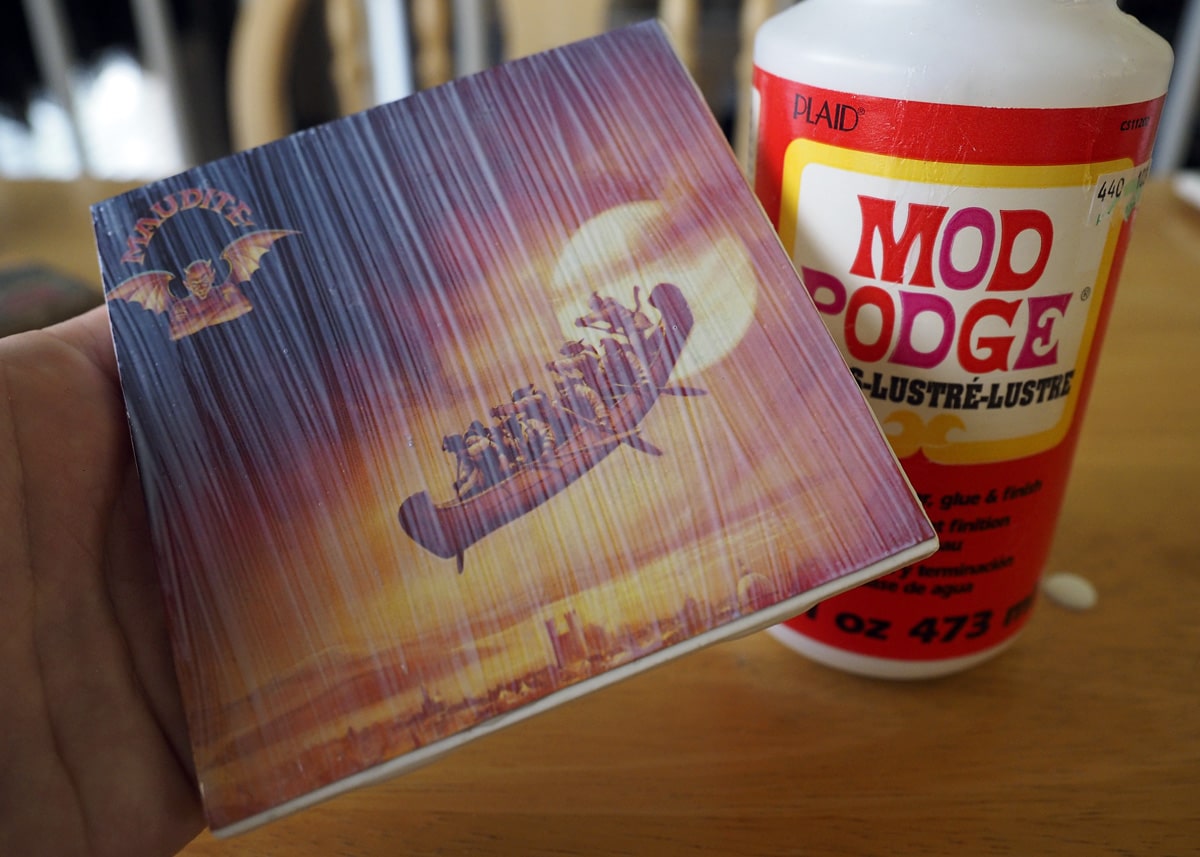
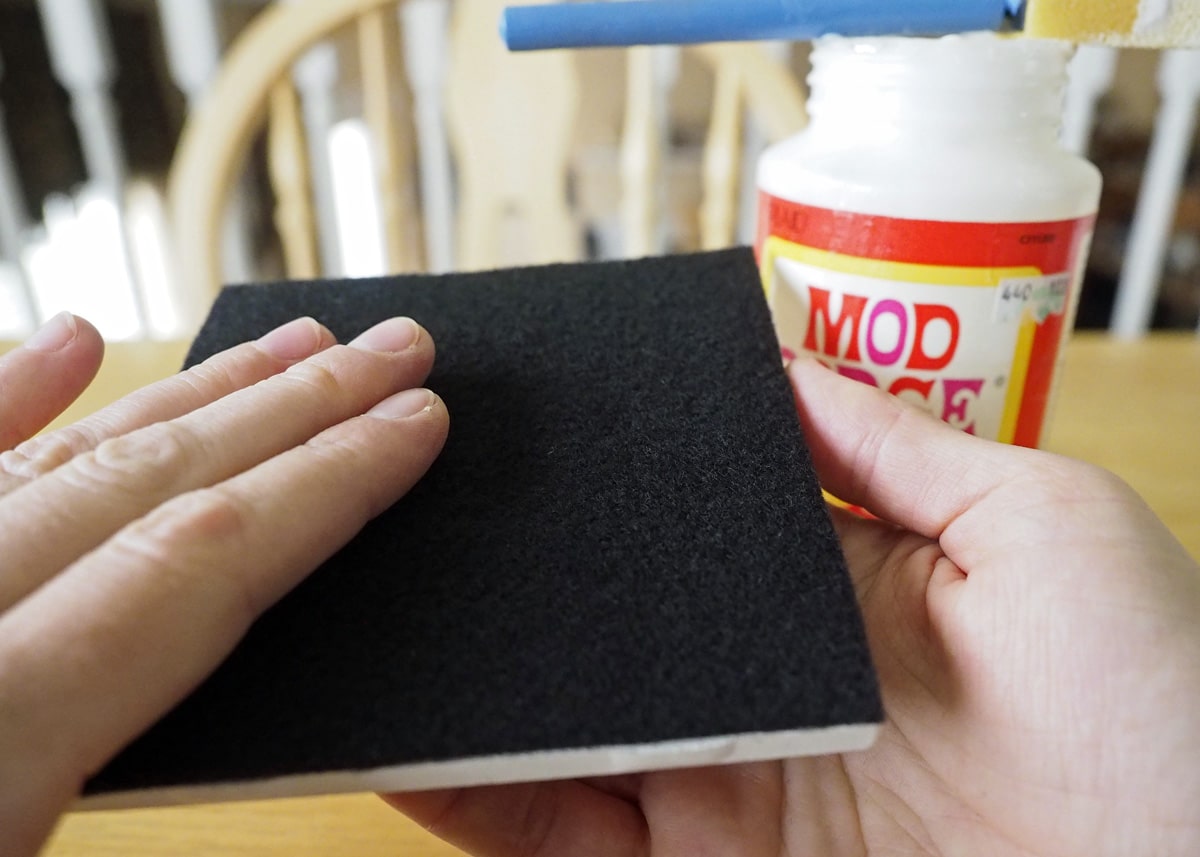
- In a well-ventilated area (outdoors is best), apply spray lacquer to your coasters. This finish will allow for easy cleaning with a damp cloth. Use newspaper to protect all surfaces from the spray and avoid windy conditions. Apply 2 or 3 layers, allowing it to dry for a few minutes in between layers. Read and follow instructions on the can. It will take 24 hours for the lacquer to dry completely.
 When the lacquer is dry, finish your coasters by applying either felt or cork to the backs. This will protect any surface you may set them on in the future. For felt, apply a layer of Mod Podge to the back of the tile (not to the felt itself), and lay a square of felt over it. Smooth it to ensure full contact with the glue and allow to dry felt side down. When dry, trim any excess felt. For cork, you’ll want to use a hot glue gun or a strong craft glue to apply. If you’re using an attractive specialty tile, you may want to use circles of cork as “feet” on the bottom rather than full coverage.
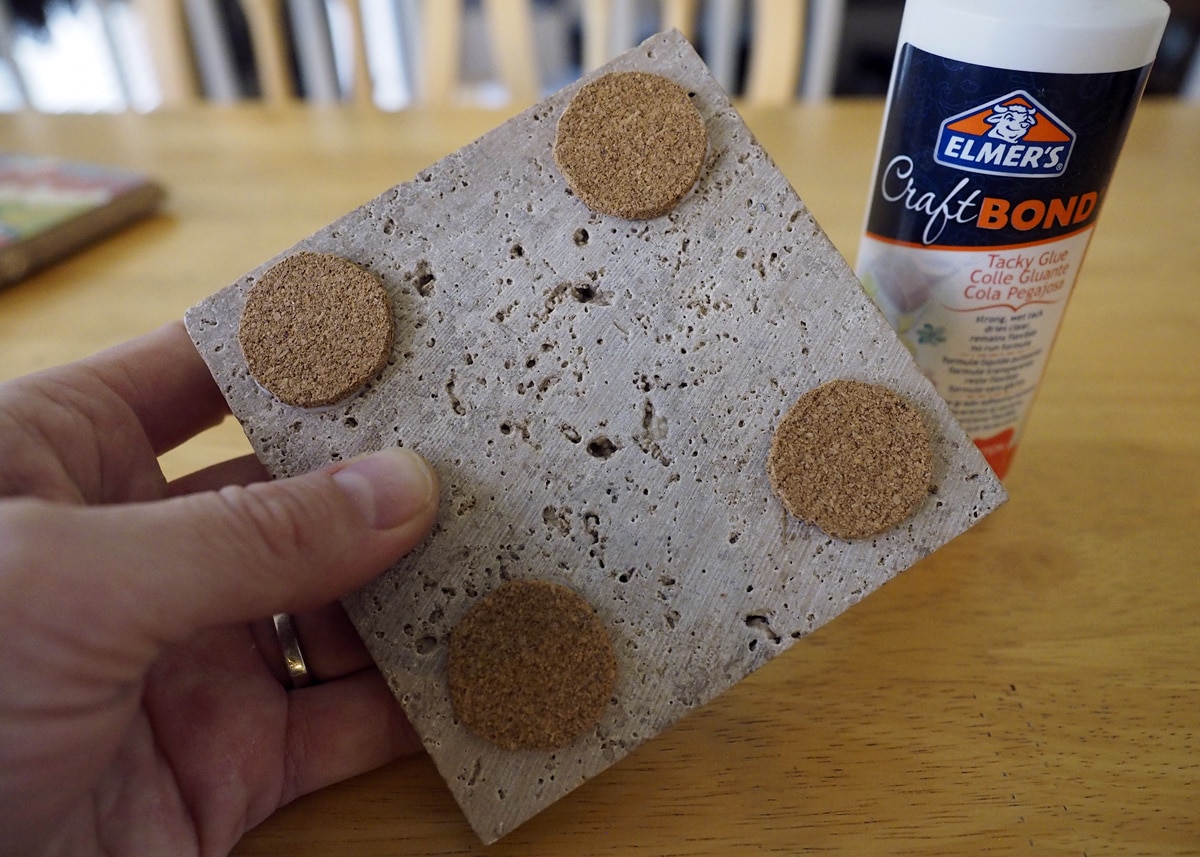
Tip: Cork can crumble or tear easily. For clean edges, use an exacto knife to cut it (I didn’t have one). Trace a quarter to get perfect circles. Another option is to use those self-adhesive felt pads (for the bottom of your furniture). Don’t rely on the adhesive. Be sure to glue them.
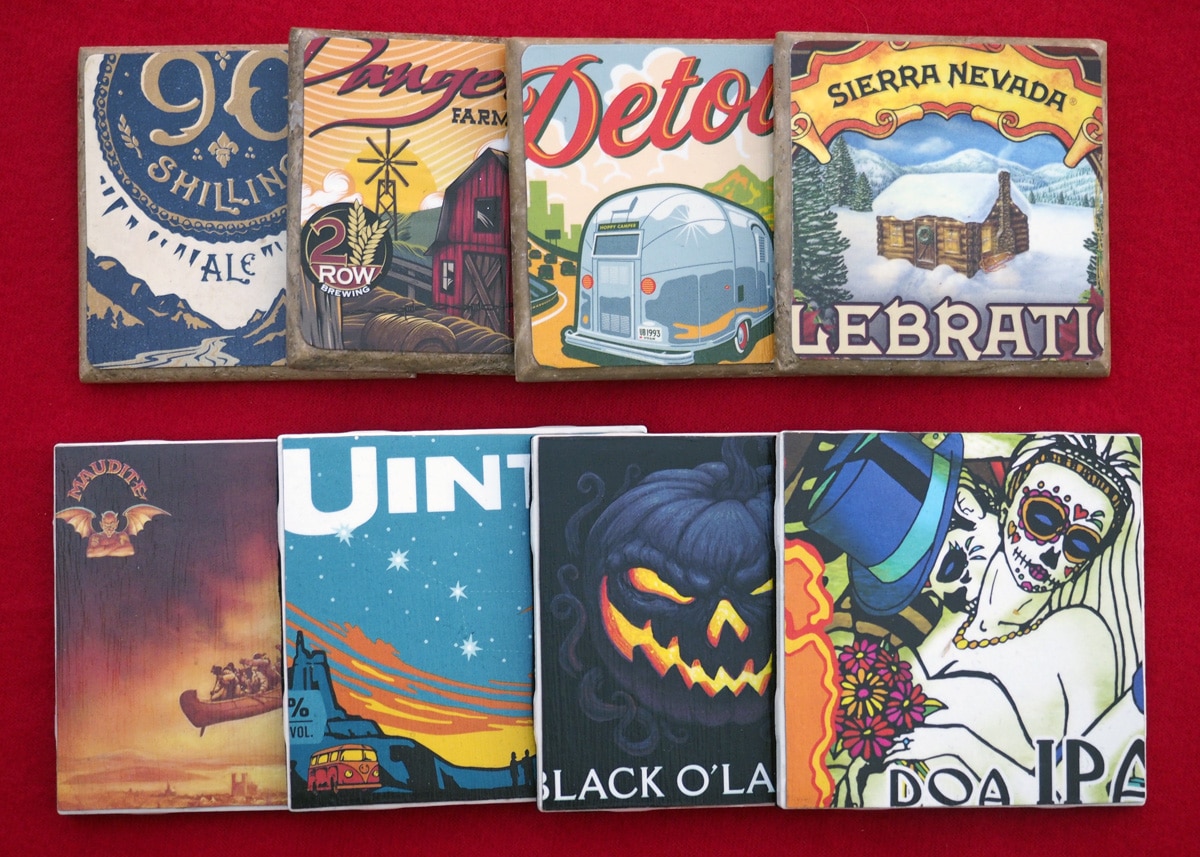
Now, crack a beer and toast yourself for a job well done. Your DIY beer-themed coasters are sure to be a hit!